Metal Stamping How-To
As I type my hands and fingers are covered in black pantina where I did the finishing touches on today's metal stamping projects. All that's left is chains and key chains.
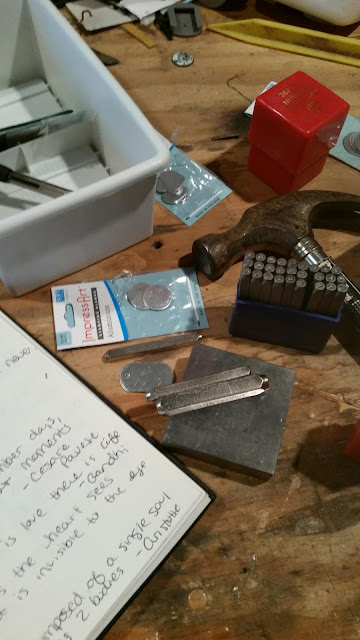
So, first part of metal stamping is that you need the right equipment.
A hammer
A steel stamping block
Metal stamps
And stamping blanks.
Also: tape, graph paper, a straight edge, and a pencil.
Not a pen. Pens will leave ridges on your blank.
1st - Using the straight edge, graph paper, and pencil make guidelines on the blank. This helps keep things in lines.
2nd - Tape down the blank to the block. The last thing anybody needs is for the stamping blank to move around the block while trying to hammer away. You really don't want your fingers holding things down in case the hammer slips...
3rd - Have you stamps ready. Creating words? Have them lined out and ready.
4th - Check that the stamp is in the right direction when stamping. It isn't always easy fixing the mistakes when the letter or shape is facing the wrong way.
5th - Make sure that the stamp is even with the blank. Hit the top of the stamp with the hammer. Only do this once; any more can cause multiple indentions instead of one even mark.
6th - Remove tape. Wipe away pencil marks.
7th - Follow Pantina directions if desired.
OR
Order from an etsy shop that does this (predesigned or custom). I like WishingMetalArts.etsy.com She has some awesome bracelets including the one I featured on my Instagram a few weeks ago.
My own shop overthinkercreates.etsy.com has literary quotes and will soon have the ones in the last picture in a few weeks.


Comments
Post a Comment